How to Repot a Spider Plant and Keep Its Roots Happy
By Sara Linwood, houseplant writerLast updated
Repot a spider plant every 1 to 2 years in spring, or sooner if its thick white roots lift the plant out of the pot or crack the container. Move it into a pot only 1 to 2 inches (2.5 to 5 cm) wider, filled with a light mix of 5 parts potting mix, 3 parts perlite and 2 parts orchid bark, and wait a few days before watering heavily.
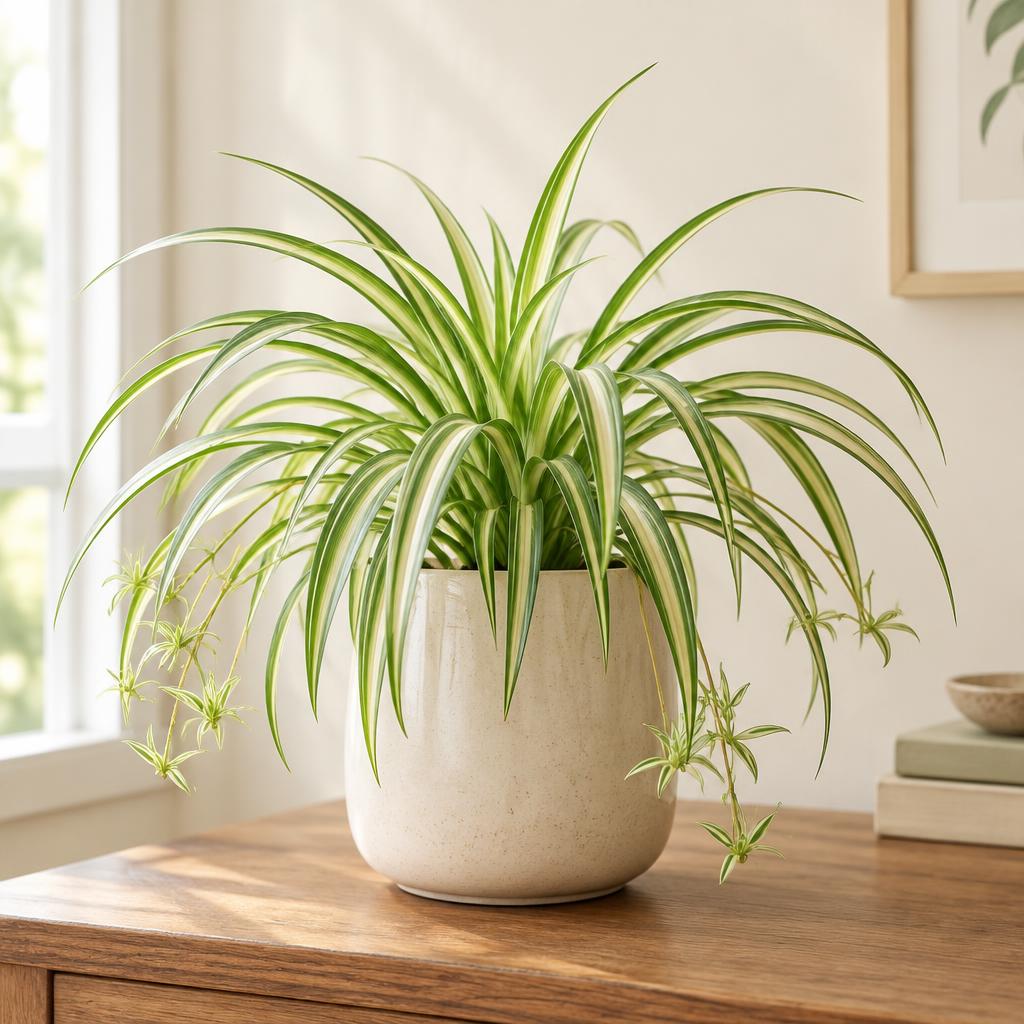
When should you repot a spider plant?
Spider plants grow fast and pack their pots with fat, white, tuberous roots. These roots store water, which is why the plant shrugs off a missed watering, but they also take up a lot of space. A healthy spider plant in a 6 inch (15 cm) pot can fill it completely within a year or so.
The clearest sign is physical: the root mass starts lifting the whole plant above the rim, or the roots press so hard against a thin plastic nursery pot that it bulges or splits. Other signs are roots poking out of the drainage hole, soil that dries out within two or three days, and water that pours straight through without being absorbed. For a broader checklist, see signs your plant needs repotting.
Spring and early summer are the best times, because the plant is in active growth and replaces any damaged roots quickly. A spider plant can be repotted at other times of year if the pot is cracking, but expect slower recovery in winter.
| Sign | What it means | How soon to repot |
|---|---|---|
| Plant lifting above the rim | Roots have filled every bit of space | Within a few weeks |
| Bulging or cracked plastic pot | Tuberous roots are pressing outward | Now |
| Roots out of the drainage hole | Root mass is crowded | Next spring, or now if growth has stalled |
| Soil dries in 2 to 3 days | Little soil left, mostly roots | Within a month |
| Water runs straight through | Rootbound or old, hydrophobic soil | Soon, with fresh mix |
What soil should you use when repotting a spider plant?
Spider plants are forgiving, but their storage roots rot in heavy, soggy soil. The mix that suits them is 5 parts potting mix, 3 parts perlite and 2 parts orchid bark. The potting mix holds nutrients and enough moisture for steady growth, the perlite adds air and drainage, and the bark keeps the mix from packing down around those thick roots over time.
| Ingredient | Parts | Share | Job in the pot |
|---|---|---|---|
| Potting mix | 5 | 50% | Nutrients and moisture |
| Perlite | 3 | 30% | Air pockets and fast drainage |
| Orchid bark | 2 | 20% | Structure that resists compaction |
For a 6 inch (15 cm) plastic pot in a normal home, the soil mix calculator gives about 3.5 cups (830 ml) of potting mix, 2 cups (474 ml) of perlite and 1.5 cups (356 ml) of orchid bark. For an 8 inch (20 cm) pot, that becomes about 8.25 cups (1,955 ml) of potting mix, 5 cups (1,185 ml) of perlite and 3.25 cups (770 ml) of bark. For the reasoning behind each ingredient, read best soil for spider plant, or follow how to make spider plant soil to mix it yourself.
What size pot does a spider plant need when repotting?
Go up only 1 to 2 inches (2.5 to 5 cm) in diameter. Spider plants actually flower and produce more babies (plantlets) when slightly snug, so a huge jump in pot size often means lots of root growth and fewer runners for a season. Too much extra soil also stays wet around the roots, which is the main route to rot.
Any material works as long as there is a drainage hole. Plastic and glazed ceramic keep moisture a little longer, which suits warm, dry rooms. Terracotta dries faster, which suits heavy-handed waterers. Hanging baskets are popular for showing off the runners, but they dry quickly in warm air near the ceiling. For general sizing rules, see what size pot for repotting.
| Current pot | Next pot | Notes |
|---|---|---|
| 4 inches (10 cm) | 5 to 6 inches (13 to 15 cm) | Young plants often need this within a year |
| 6 inches (15 cm) | 7 to 8 inches (18 to 20 cm) | Typical size for a mature tabletop plant |
| 8 inches (20 cm) | 9 to 10 inches (23 to 25 cm) | Consider dividing instead |
| 10 inches (25 cm) or more | Divide into 2 or 3 pots | Large clumps are heavy and slow to dry |
How do you repot a spider plant step by step?
Water the plant lightly a day before repotting. Slightly moist roots slide out more easily and are less likely to snap than bone-dry or soaking wet ones. Spread newspaper or work outside, because the tight root ball can take some coaxing.
Step by step
Repot a spider plant
Time: about 30 minutes
You'll need
- New pot 1 to 2 inches (2.5 to 5 cm) wider, with a drainage hole
- 3.5 cups (830 ml) potting mix for a 6 inch (15 cm) pot
- 2 cups (474 ml) perlite
- 1.5 cups (356 ml) orchid bark
- Clean, sharp scissors or a knife
- Rainwater or filtered water
- Mix the soil. Combine the potting mix, perlite and bark in a bucket and dampen it slightly so it holds together loosely without dripping.
- Free the root ball. Squeeze a plastic pot on all sides, tip it, and ease the plant out by the base of the leaves. If roots are wedged in, cut the nursery pot away rather than pulling hard.
- Check and trim roots. Healthy roots are firm and white to cream. Snip off any that are brown, mushy or smell sour, and gently tease apart the outer circling roots with your fingers.
- Divide if needed. If there are several crowns, pull or cut the clump into two or three sections, each with its own leaves and a good set of tuberous roots.
- Set the height. Add mix to the new pot so the top of the root ball sits about 1 inch (2.5 cm) below the rim, with the crown level with the soil surface and not buried.
- Fill and settle. Fill around the sides, tap the pot on the table to settle the mix, then water slowly until it drains from the hole.
How do you care for a spider plant after repotting?
Put the plant back in bright, indirect light and keep it out of hot direct sun for about two weeks while roots recover. A few limp or pale leaves in the first week are normal and usually perk up as new roots grow into the fresh mix.
After the first watering, let the top 1 to 2 inches (2.5 to 5 cm) of mix dry before watering again. In this light mix, that usually takes 5 to 8 days in a normal room. Hold off on fertilizer for 4 to 6 weeks, since fresh potting mix already contains nutrients and new roots burn easily.
| Time after repotting | What to do | What to expect |
|---|---|---|
| Day 1 | Water thoroughly once, let drain | Mix settles a little |
| Week 1 | Bright, indirect light only | Slight droop is normal |
| Weeks 2 to 3 | Water when top inch is dry | New leaves start from the center |
| Weeks 4 to 6 | Resume half-strength feeding | Normal growth, runners return later |
If the plant stays droopy past three weeks and the soil smells sour, check the roots. Our guide to spider plant root rot walks through rescue steps, including rooting the babies as a backup.
Advice by situation
Beginners
Stick to the 50/30/20 mix, a plastic pot with a hole, and one size up. Water once, then wait until the top inch is dry before watering again.
Dry homes
Choose plastic or glazed ceramic over terracotta and avoid hanging the plant right above a radiator, since warm air near the ceiling dries the mix fast.
Humid homes
Terracotta works well here, and you can lean slightly toward more perlite so the mix still dries within a week.
Over-waterers
Use terracotta and do not upsize more than 1 inch (2.5 cm). The tuberous roots hold water, so the plant tolerates dry spells far better than soggy soil.
Lots of babies
Repotting is a good time to snip off plantlets and pot them in small 3 to 4 inch (8 to 10 cm) pots of the same mix. They root within a couple of weeks.
Common mistakes to avoid
- Jumping to a much bigger pot. Go up 1 to 2 inches (2.5 to 5 cm). Extra soil stays wet and the plant puts out fewer runners.
- Using heavy garden soil or plain dense potting mix. Add perlite and bark so air reaches the thick storage roots.
- Burying the crown. Keep the crown level with the soil surface, where the leaves meet the roots.
- Ripping a stuck root ball out by the leaves. Cut away a plastic nursery pot instead of pulling, so roots and crown stay intact.
- Fertilizing right after repotting. Wait 4 to 6 weeks while new roots grow into the fresh mix.
- Repotting into a pot without a drainage hole. Use a pot with a hole, or keep a plastic nursery pot inside a decorative cover and empty the cover after watering.
Quick checklist
- Confirm roots are lifting the plant, circling, or cracking the pot.
- Mix 5 parts potting mix, 3 parts perlite, 2 parts orchid bark.
- Pick a pot 1 to 2 inches (2.5 to 5 cm) wider with a drainage hole.
- Trim brown or mushy roots and loosen circling ones.
- Divide large clumps into 2 or 3 pots.
- Keep the crown level with the soil surface.
- Water once, then wait until the top inch is dry, and skip fertilizer for 4 to 6 weeks.
Frequently asked questions
How often should I repot a spider plant?
Every 1 to 2 years for most plants. Fast-growing young plants in small pots may need it yearly, while big plants are often divided rather than moved up.
Do spider plants like to be root bound?
A little. Slightly snug plants tend to produce more flowers and babies, but once roots lift the plant or crack the pot, it needs more room or dividing.
Can I cut the thick white roots when repotting?
You can trim a few if needed to divide the plant or fit the pot. Those tuberous roots store water, so keep most of them and only remove damaged or mushy ones.
Why is my spider plant drooping after repotting?
Mild droop is normal transplant stress from disturbed roots. Keep it in bright, indirect light and avoid overwatering; it usually recovers within one to three weeks.
Can I use cactus soil for a spider plant?
It works in a pinch, but it often dries too fast for a spider plant. A standard potting mix opened up with perlite and bark is a better match.